Basics
Get started
Create a storyboard project in five steps, from project setup to export-ready editing assets.
This guide walks you through the fastest way to get started with MkBoard: create a project, turn a script into a storyboard, and export assets you can continue editing.
1. Create a project
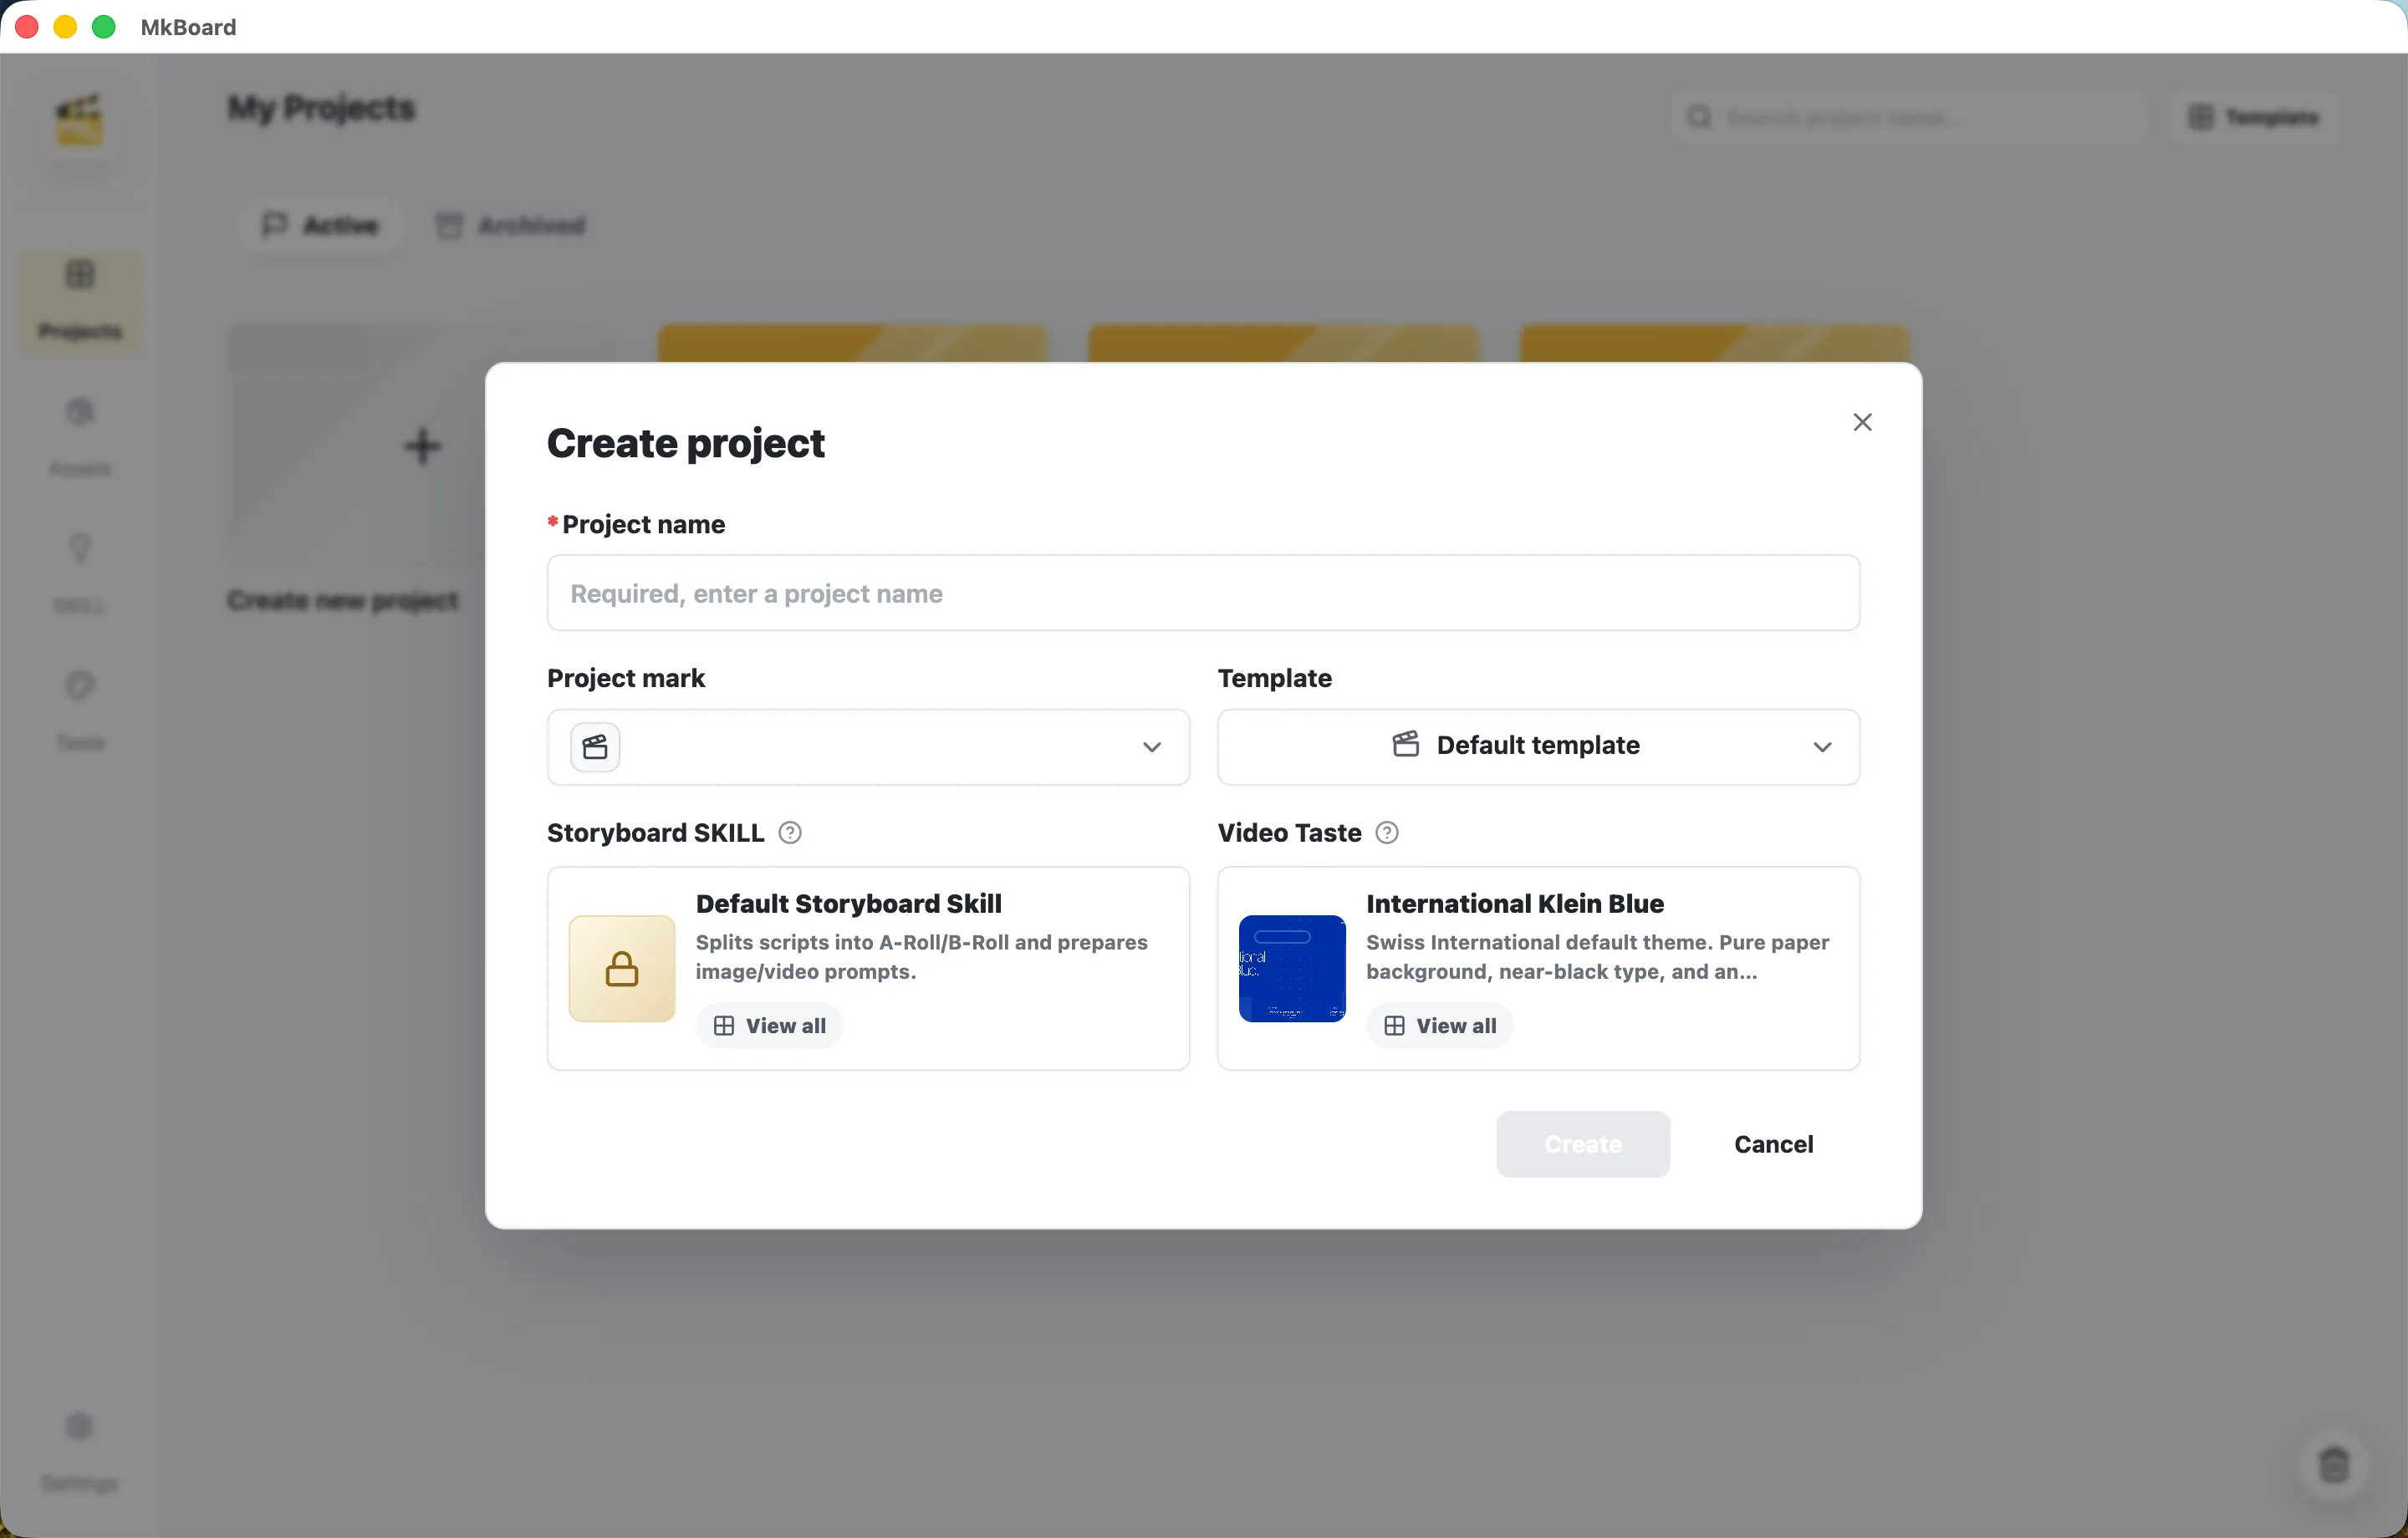
Click Create new project, then finish the setup in the dialog:
-
Project name — Name the project. This field is required.
-
Project mark — Choose a project icon so it is easier to recognize in the project list.
-
Template — Choose a project template. This defines the base structure of the storyboard.
-
Storyboard SKILL — Choose the storyboard parsing skill. The default skill splits your script into A-Roll and B-Roll shots, then prepares image and video generation prompts automatically.
-
Video Taste — Choose the video style that defines the overall visual direction.
After setup, click Create to enter the project.
2. Enter your script
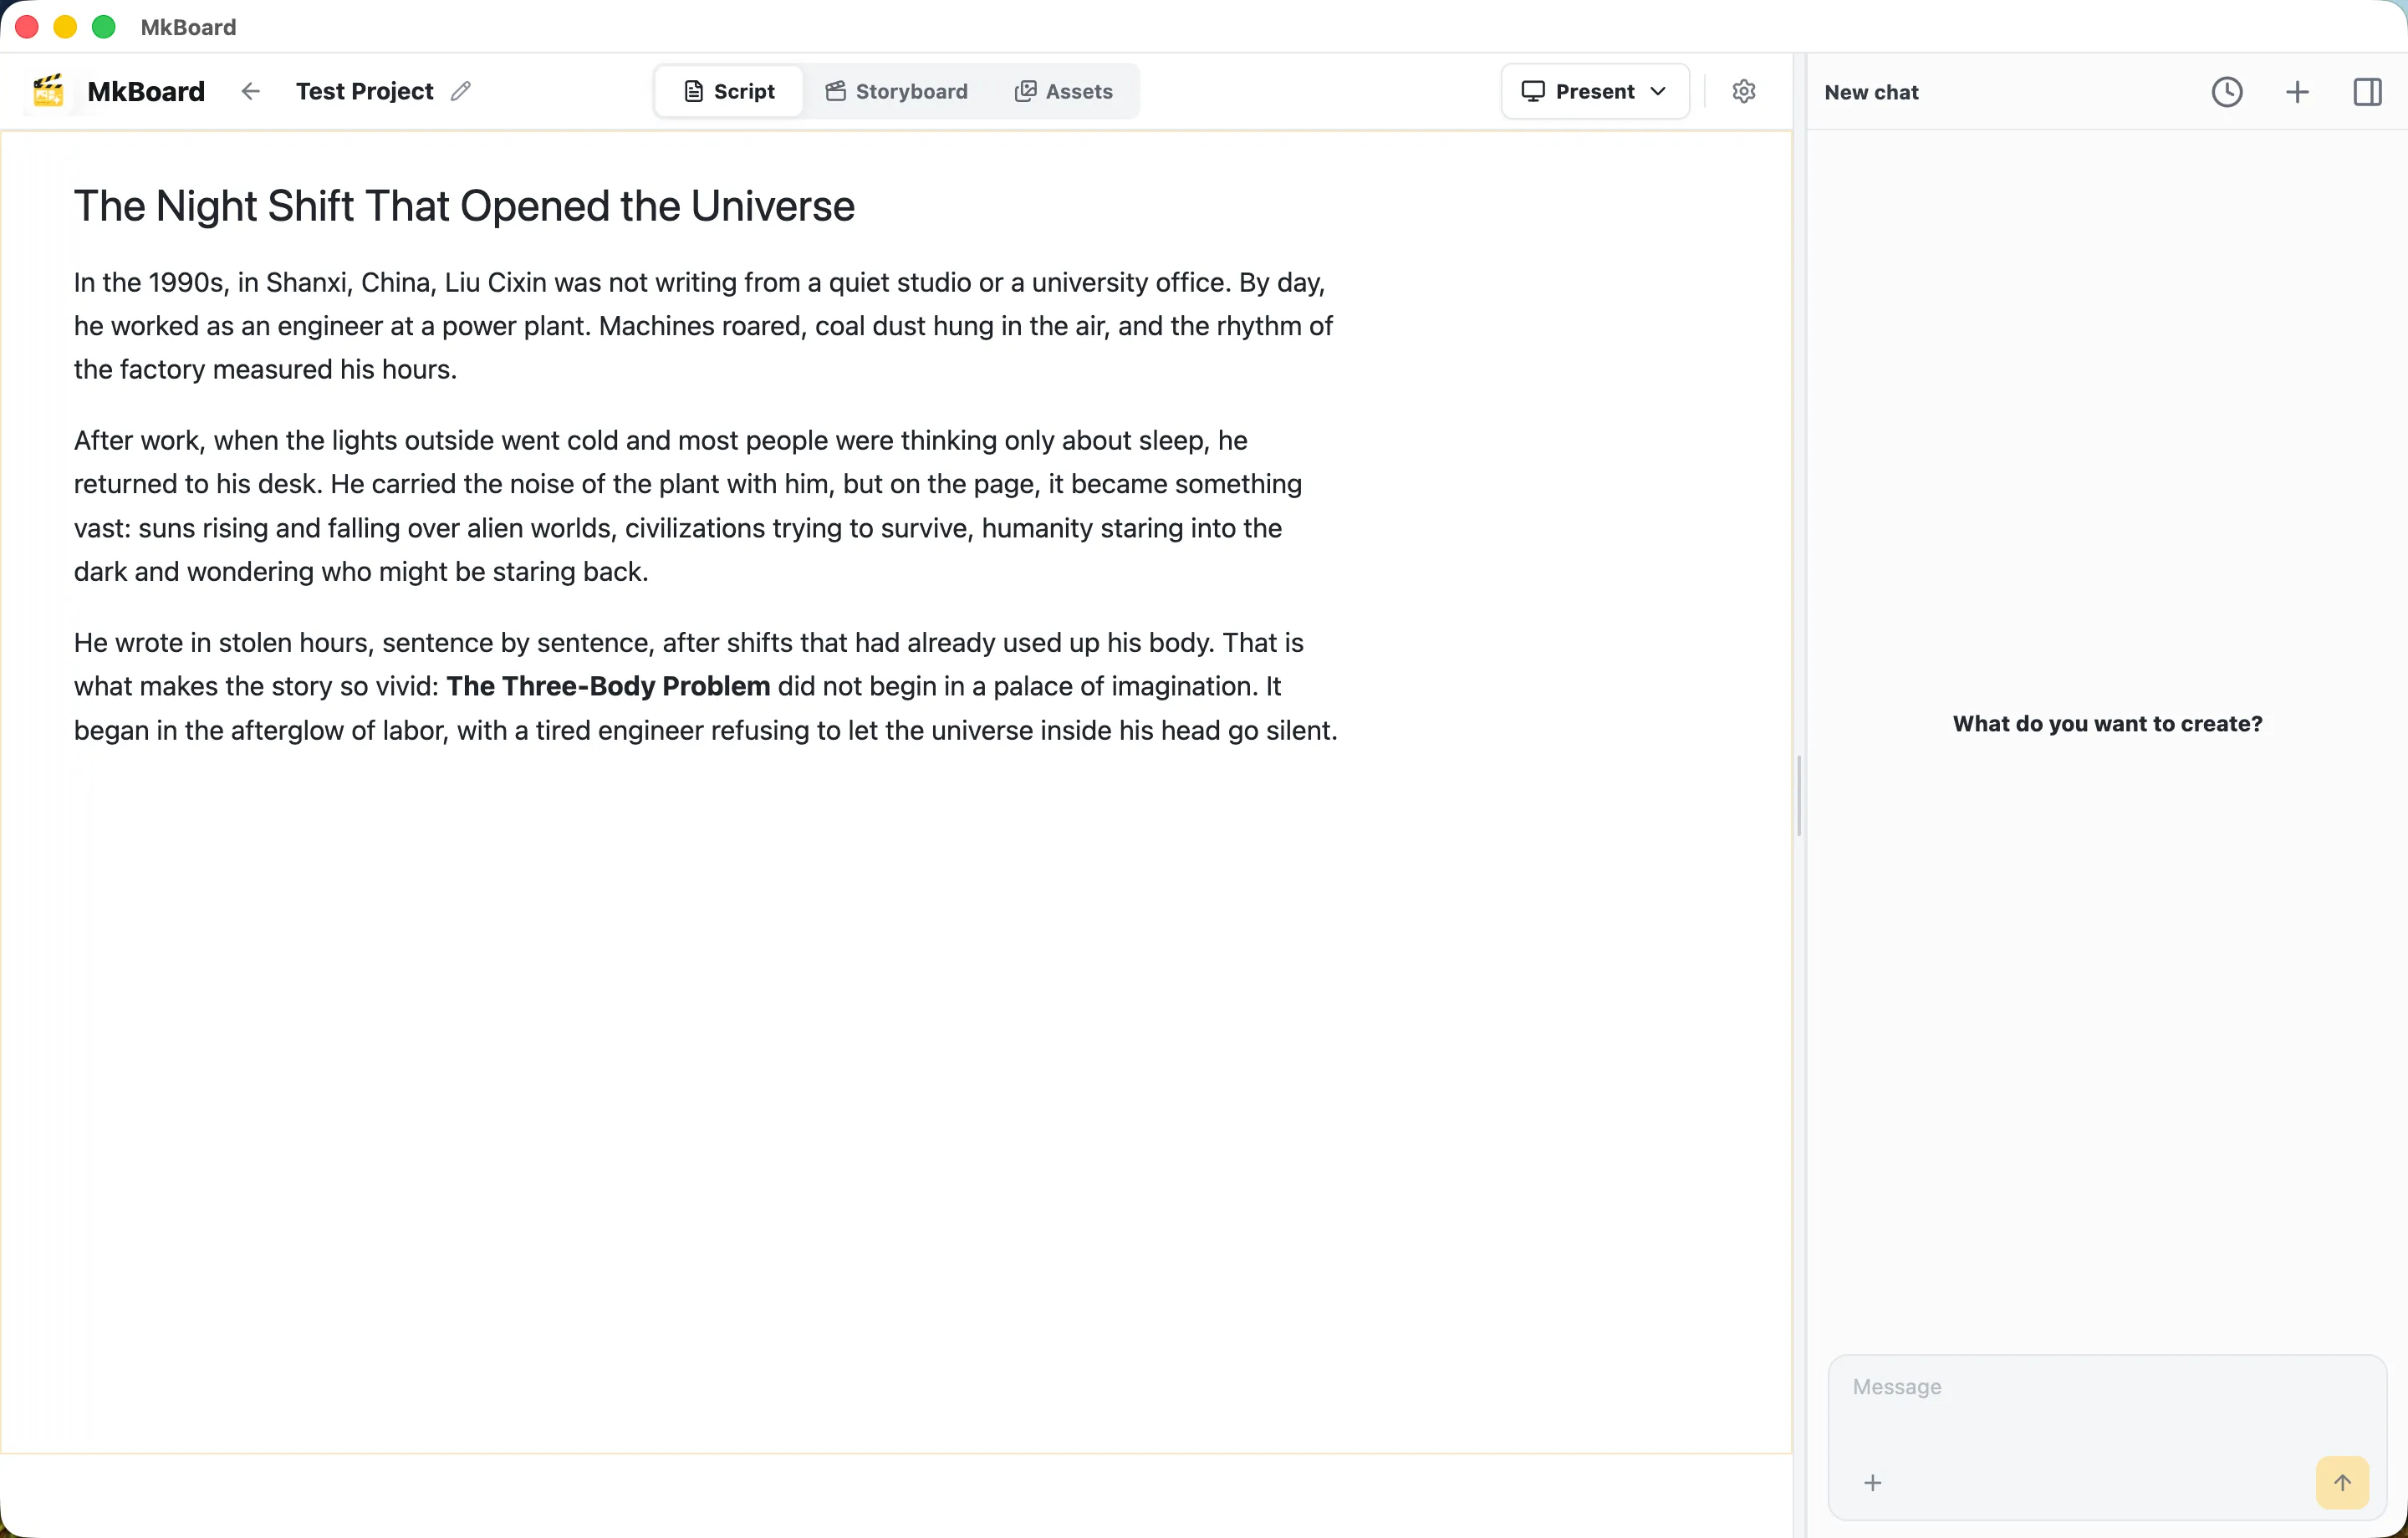
After entering the project, MkBoard opens on the Script tab by default. Write or paste your video script directly into the editor. It can be a finished narration script, a story outline, or a section-by-section draft.
The AI chat panel stays on the right side of the page. You can ask AI questions at any time, or ask it to polish, expand, or restructure your script.
3. Let AI parse the storyboard
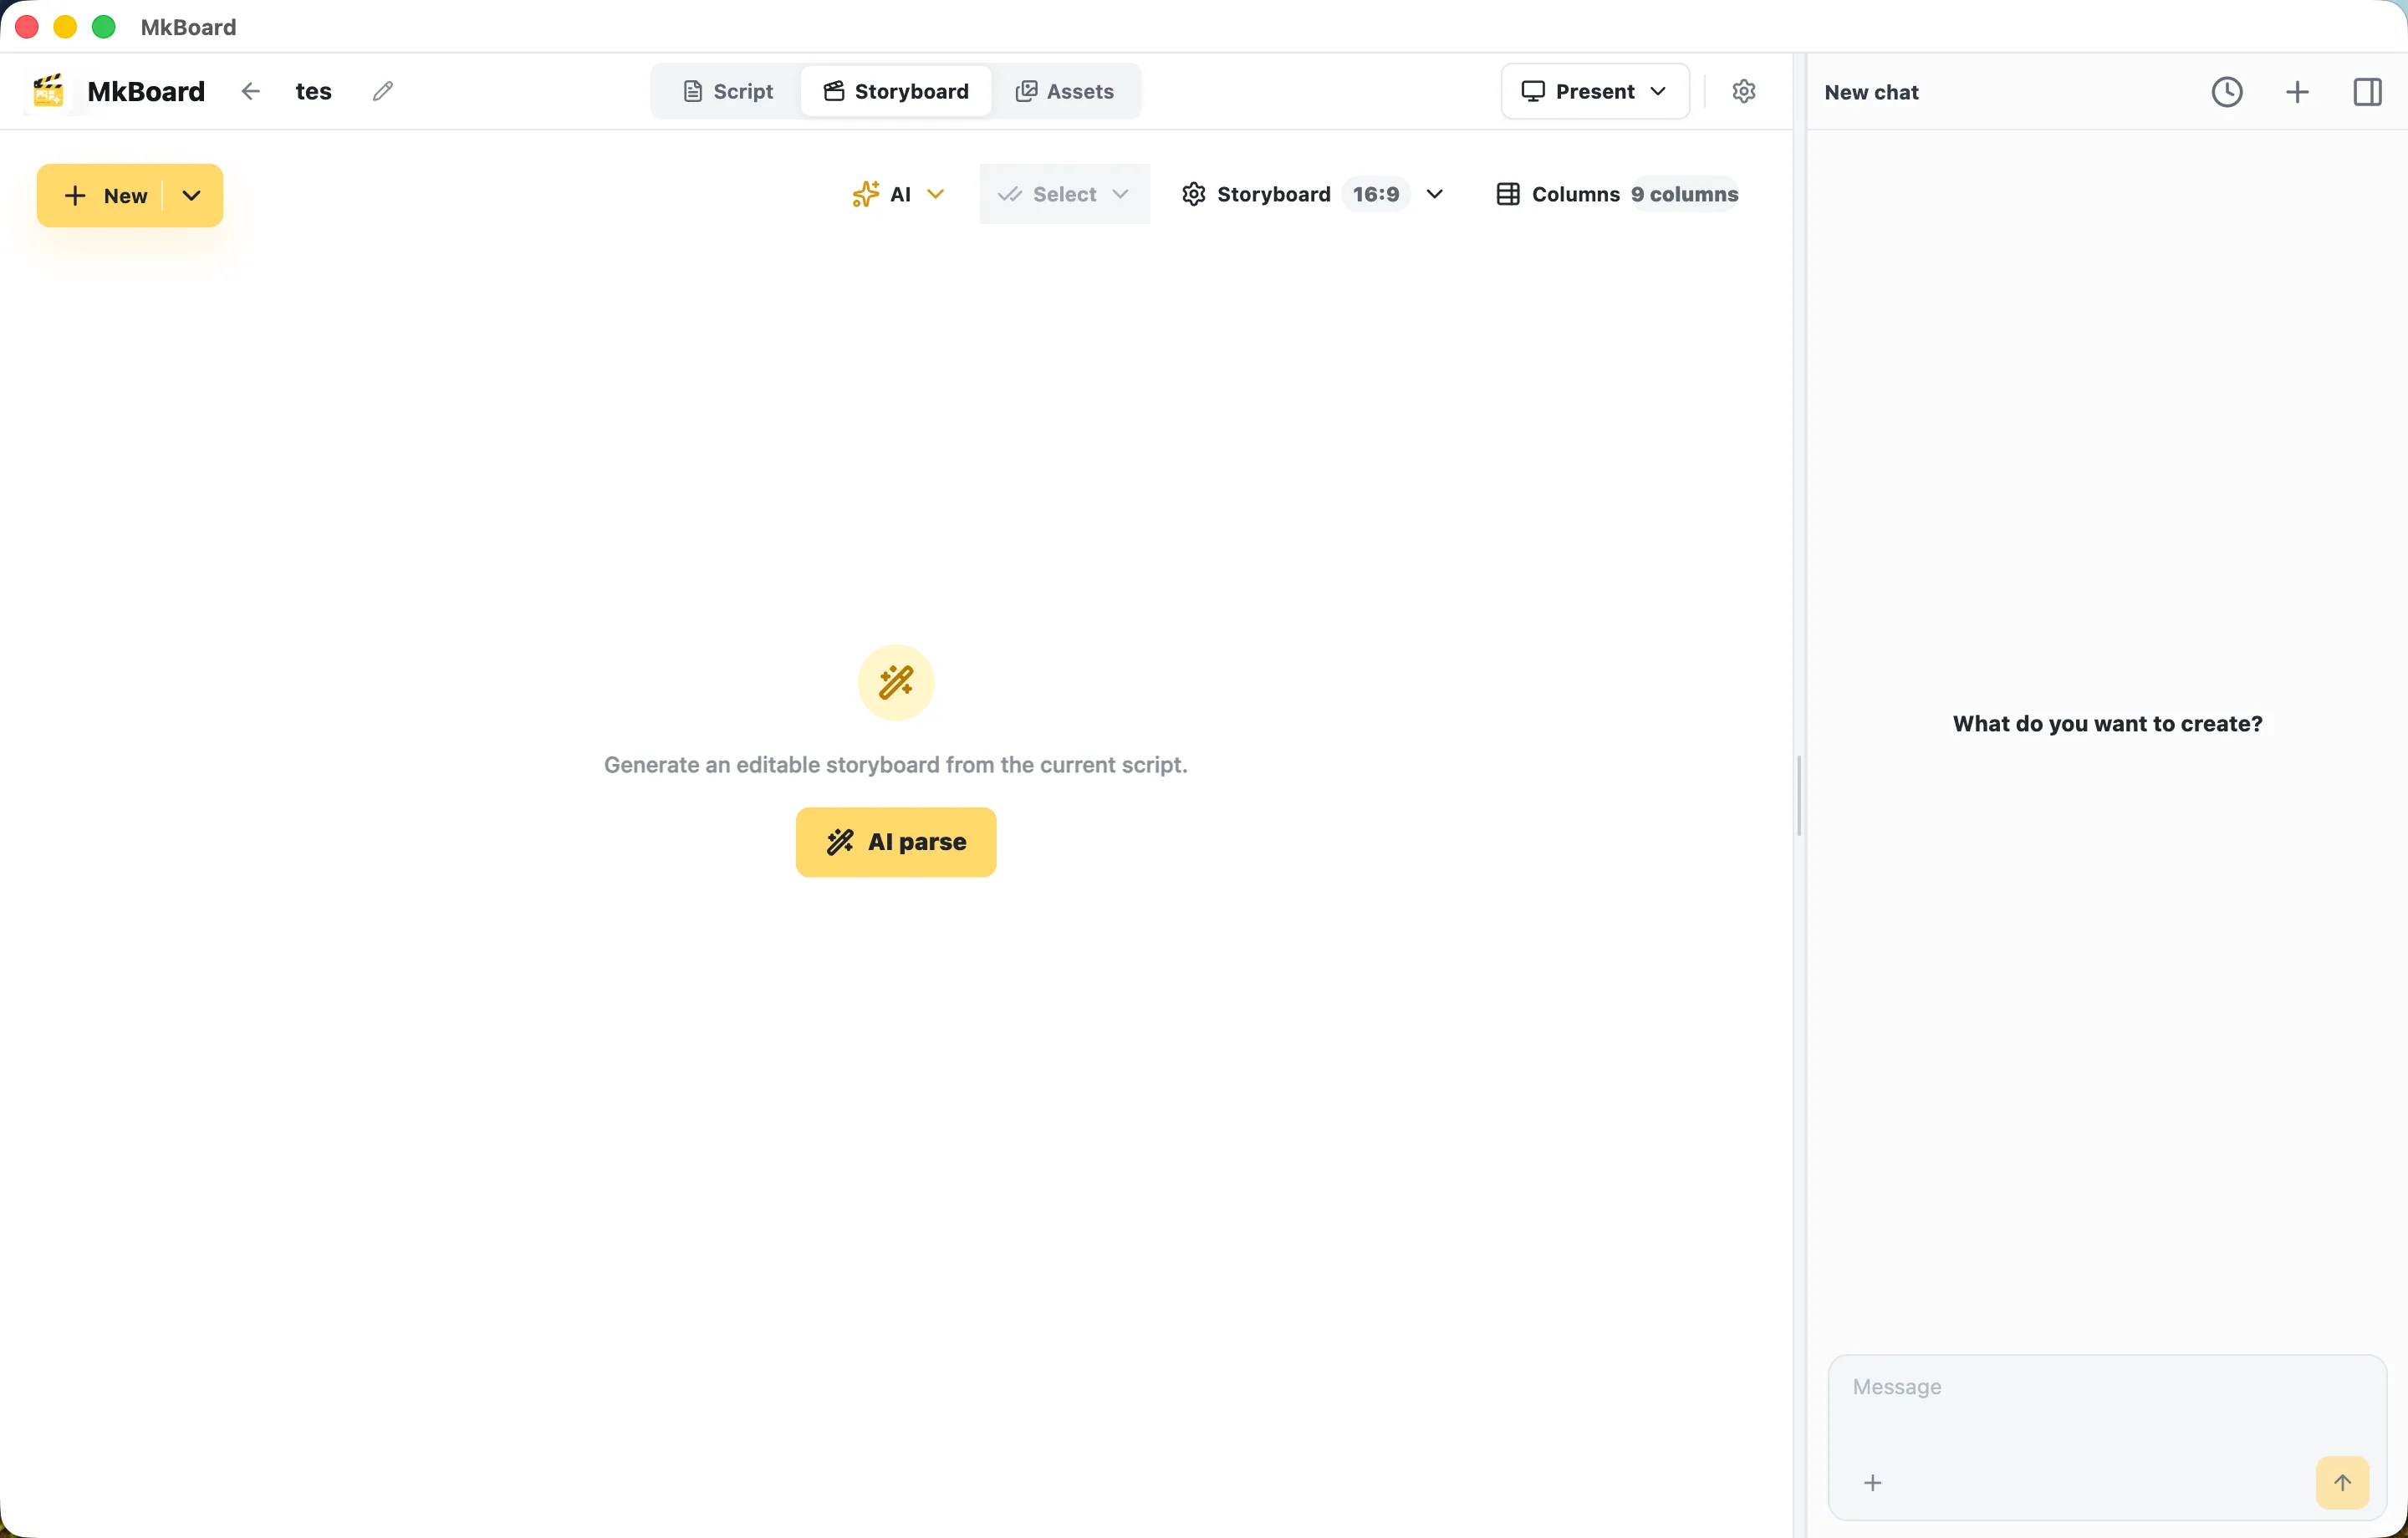
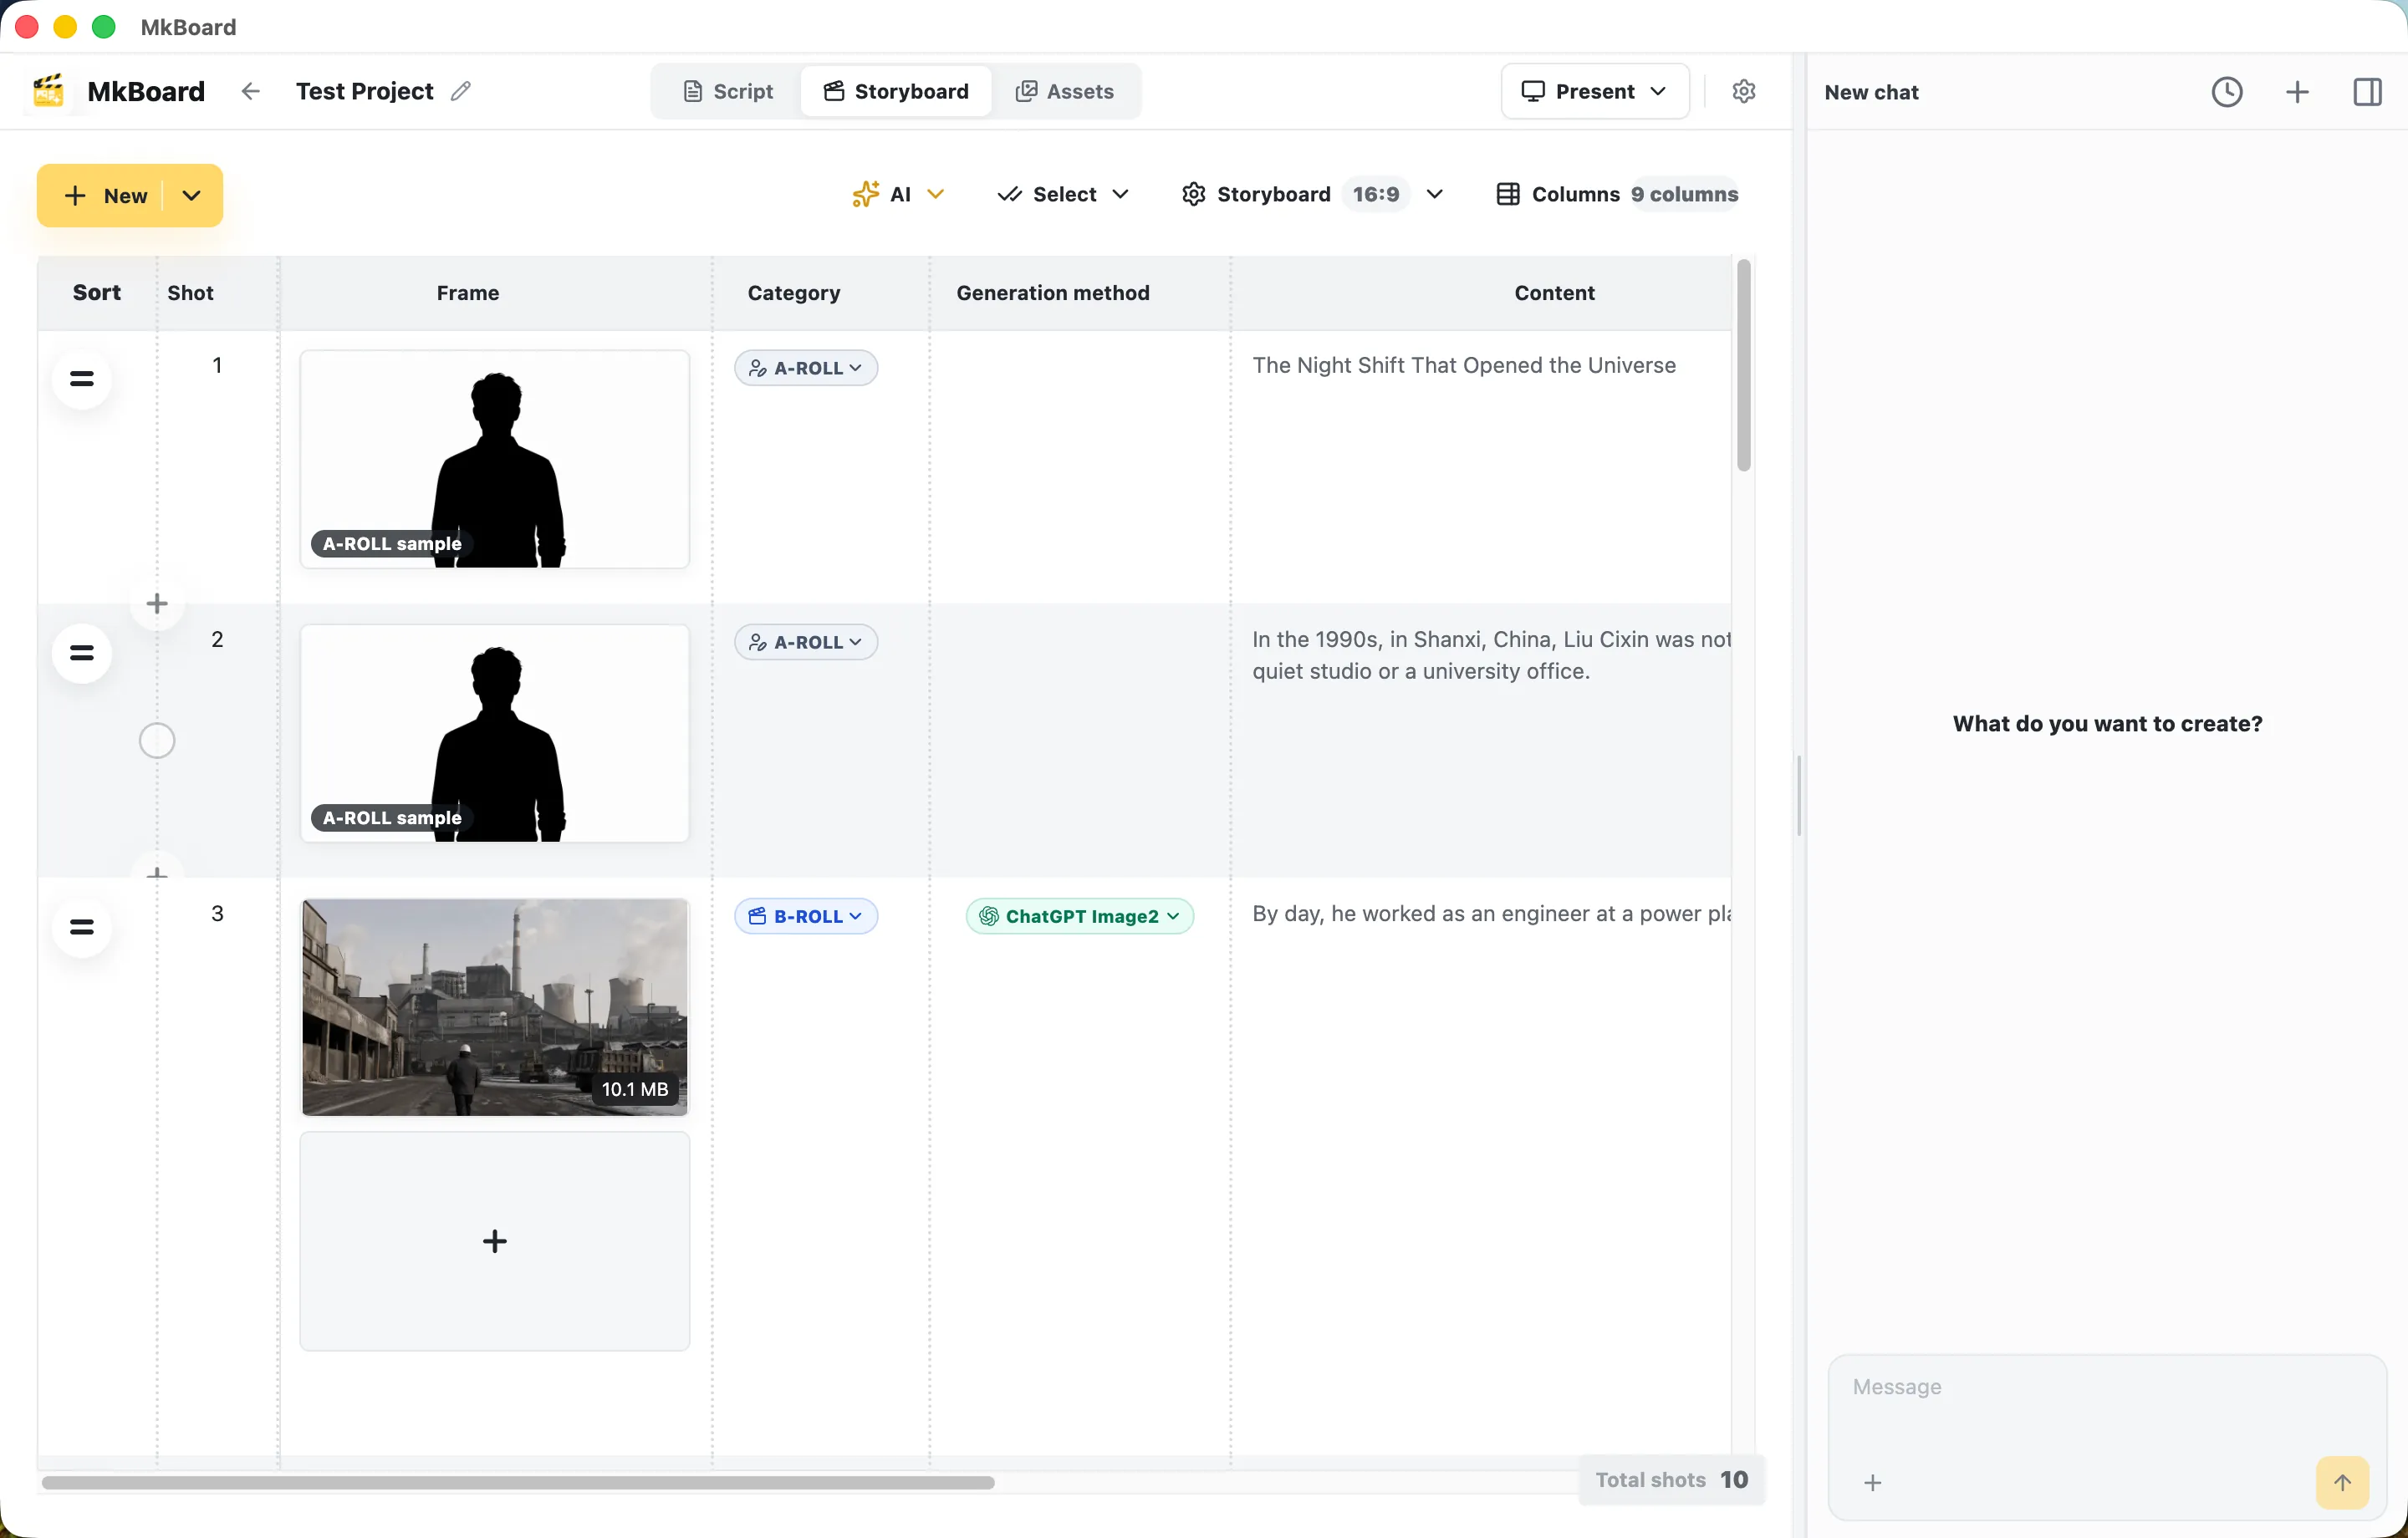
Switch to the Storyboard tab and click the AI parse button in the center of the page. AI will automatically:
-
Split the text into multiple shots.
-
Label each shot as A-Roll (main on-camera footage) or B-Roll (supporting visuals or cutaway footage).
-
Choose the generation method for each shot and generate the corresponding image or video assets.
After parsing, the storyboard appears as a table with thumbnails, shot categories, generation methods, and script text. You can modify any shot through the AI chat panel on the right. Adjust the copy, change the generation method, or regenerate visuals using natural language.
4. Preview the storyboard
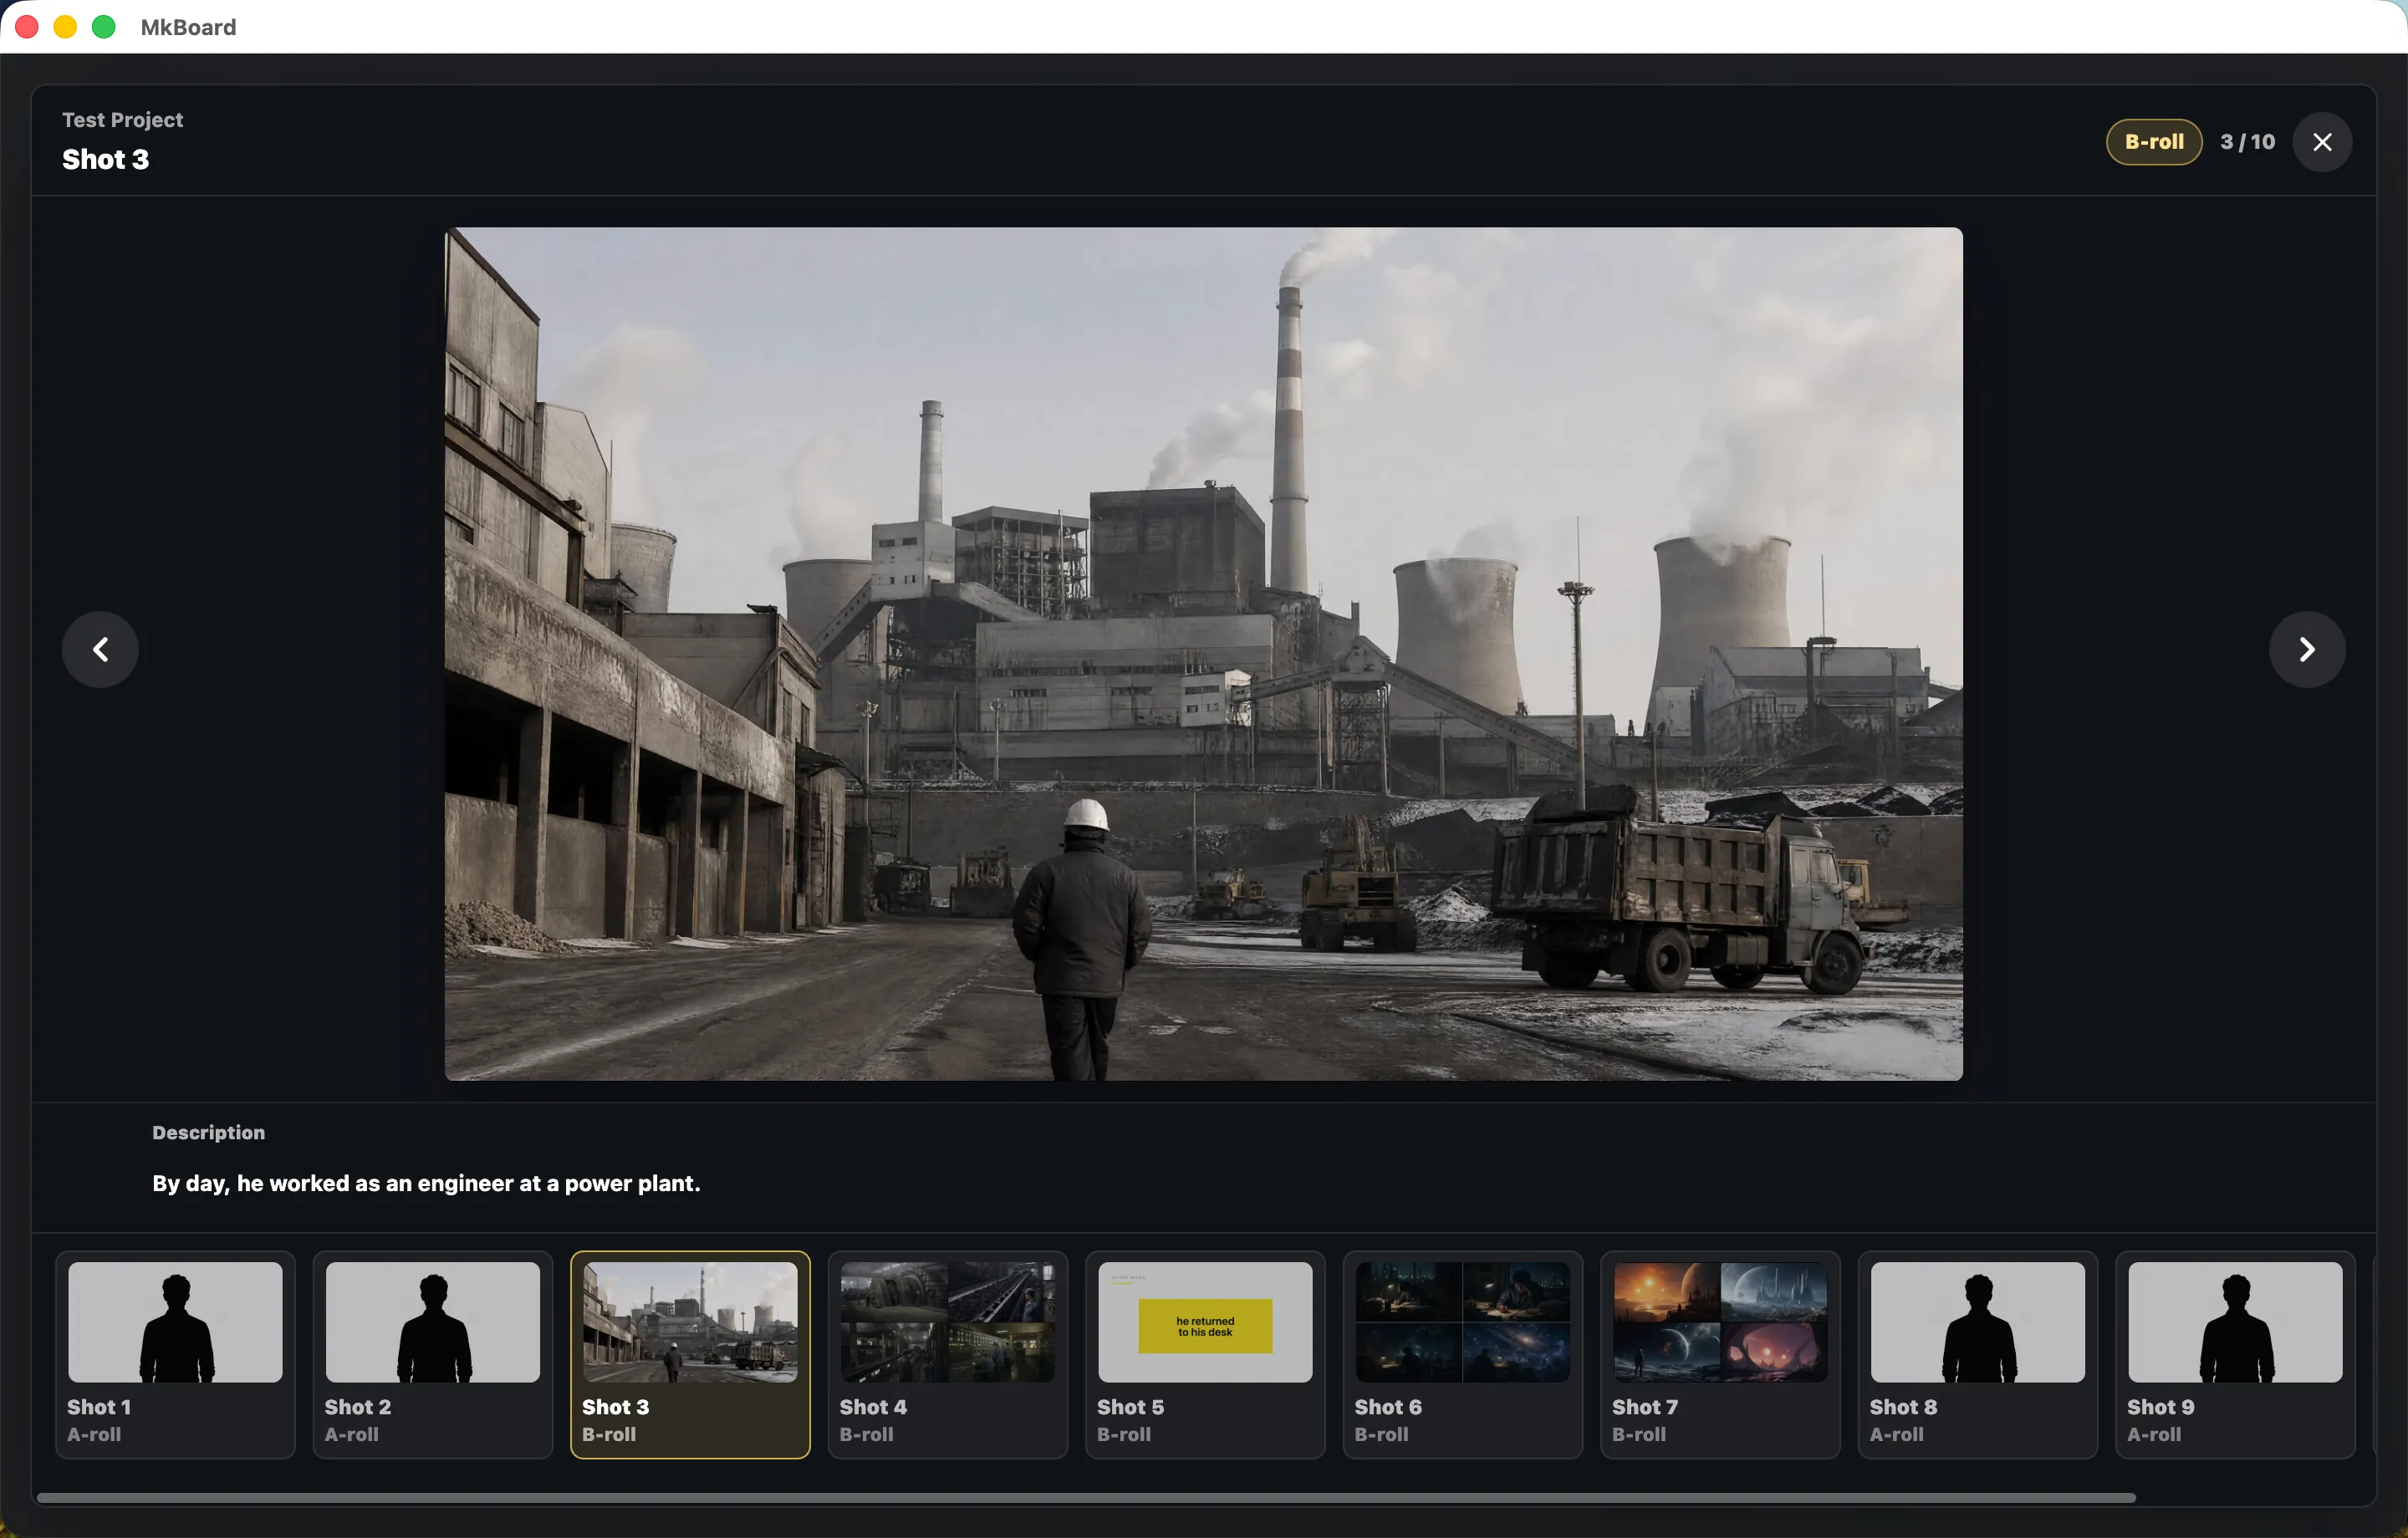
Click any shot to open full-screen preview mode. From there, you can:
-
Review each shot frame by frame together with its narration text.
-
Use the left and right arrows, or the thumbnail strip at the bottom, to move between shots quickly.
-
Check whether the overall pacing and visual story feel smooth.
5. Export and edit
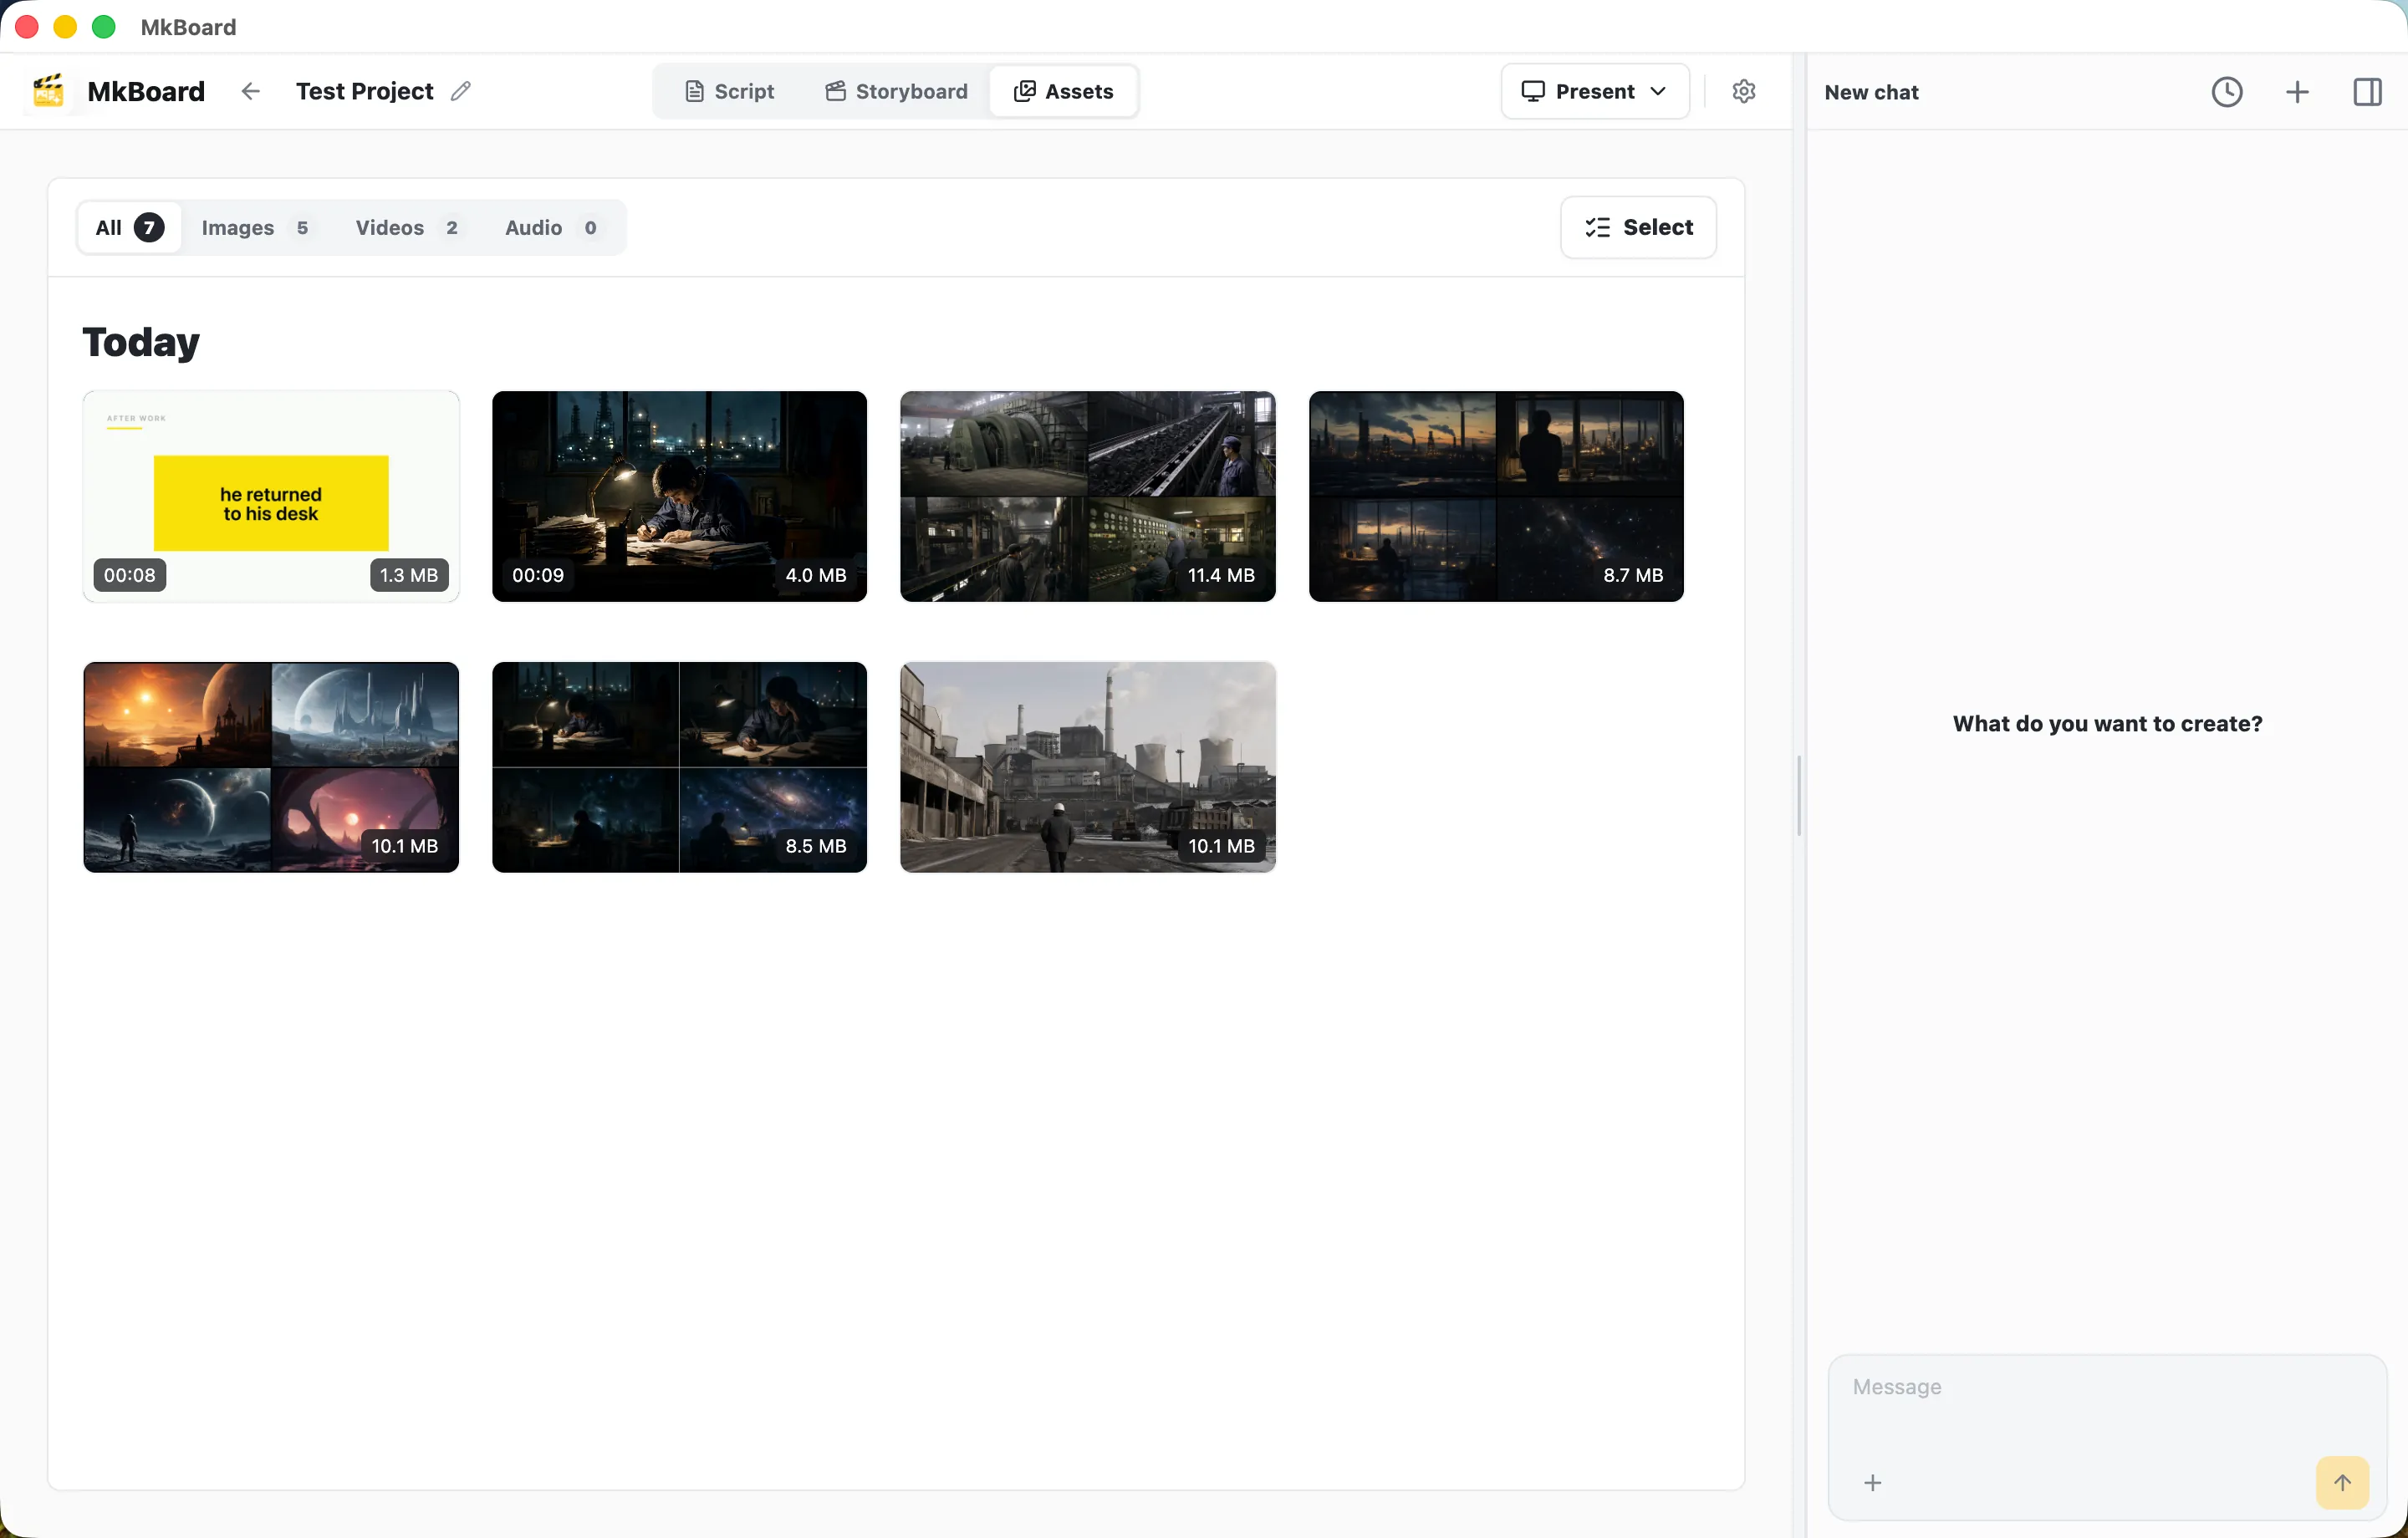
Switch to the Assets tab. This page collects all AI-generated images and video assets in the project, sorted by time, with filters for Images, Videos, and Audio.
Select the assets you need, export them, and bring them into your editing tool of choice, such as CapCut, Premiere, or Final Cut Pro, to finish editing, voiceover, and color work.